Seascapes have captivated photographers for decades, offering endless opportunities to capture the beauty and serenity of oceans, coastlines, and coastal landscapes. Whether you’re a seasoned photographer or just beginning, mastering the art of seascape photography requires a blend of creativity, technical expertise, and a deep understanding of composition techniques. One of the most powerful tools in your arsenal is the Rule of 3, a simple yet effective guideline that can transform your ocean shots from ordinary to extraordinary. In this article, we’ll explore how to apply the Rule of 3 in seascape photography, discuss the best focal lengths and camera settings for capturing stunning ocean photos, and provide practical advice for creating compositions that stand out. From the basics of seascape photography to advanced tips for achieving depth and dimension, this guide will equip you with the knowledge and confidence to shoot like a pro.
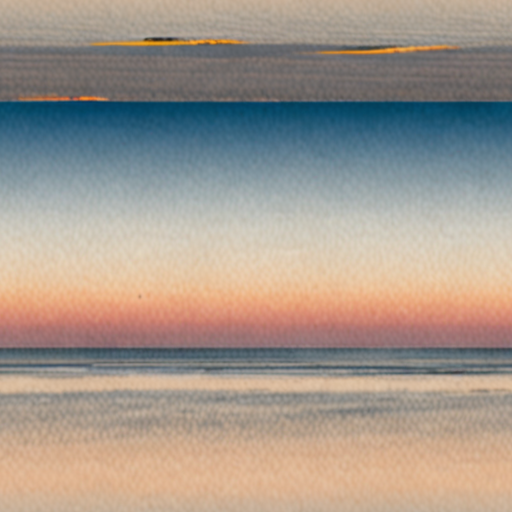
How to Take Pictures of Seascapes
To capture stunning seascapes, start with the right preparation and techniques:
Gear Preparation
- Tripod: Use a sturdy tripod to stabilize your camera, especially in rough conditions. Consider models designed for outdoor use.
- Neutral Density (ND) Filter: Attach an ND filter for longer exposures, allowing you to capture smooth water movement. Pair it with a circular polarizer for enhanced effects.
- Shutter Speed: Increase your camera’s shutter speed to freeze action moments, though combine it with ND filters for slower, artistic shots.
- Cable Release: Use a cable release for long exposures to prevent camera shake caused by pressing the shutter button.
Composition Tips
- Leading Lines: Incorporate elements like receding lines of waves or rocks to draw the viewer’s eye towards the horizon.
- Horizon Line: Ensure the horizon is straight by using a level tool or adjusting your camera’s settings.
- Symmetry: Seek out naturally symmetrical scenes, such as lines of waves meeting the shore or reflections in calm water.
Lighting Strategies
- Golden Hours: Shoot during sunrise or sunset for soft, warm light that enhances textures and colors in the waves.
- Reflectors/Diffusers: Use reflectors to bounce light back onto darker areas of the scene, creating balanced illumination.
Technical Settings
- Aperture Priority Mode: Set your aperture to control depth-of-field, blurring the background for a sharper foreground.
- Manual Focus: Ensure your subject is sharp by switching to manual focus, especially in low-light conditions.
- White Balance: Adjust white balance to maintain accurate colors, especially under varying light conditions.
Post-Processing
- Retouching: Remove minor distractions like small waves or debris, but avoid overprocessing to retain naturalness.
- Color Balance: Adjust hues subtly to enhance the scene’s mood without making it look artificial.
- Black-and-White Conversion: Experiment with converting select photos to monochrome for a dramatic, timeless look.
Location and Timing
- Tide Awareness: Check tidal patterns to maximize your shot’s potential, whether during high or low tide.
- Weather Conditions: Plan your shoots during calm periods, though practice in various conditions to broaden your skills.
- Environmental Respect: Minimize disruption to natural habitats and avoid overcrowding in popular spots.
Patience and Learning
- Patient Practice: Understand that great shots may require waiting for the perfect conditions or timing.
- Continuous Learning: Explore resources, workshops, and communities to refine your techniques and stay inspired.
By following these steps, you’ll be well-equipped to capture the essence of seascapes, turning ordinary moments into extraordinary memories.
The Rule of 3 in Landscape Photography
The Rule of 3 is a fundamental composition technique in landscape photography that helps create visually balanced and engaging images. By dividing the scene into thirds, photographers can establish a sense of harmony and proportion.
Key Concepts
- Grid Division: Imagine placing a tic-tac-toe grid over your composition. This grid divides the image into nine equal sections, with the most important elements often placed at the intersection points of the vertical and horizontal thirds.
- Horizon Lines: The horizon typically sits along the bottom third of the frame. Placing it at the one-third or two-thirds mark can add dynamic balance to the image.
- Points of Interest: Key elements like mountains, water, or foreground subjects are often placed at the intersections of the grid lines to draw the viewer’s eye and create a sense of depth.
Practical Application
When applying the Rule of 3, consider the following tips:
- Leading Lines: Use leading lines like rivers or roads that lead towards a vanishing point, often placed at the one-third or two-thirds mark of the frame.
- Lighting Direction: Pay attention to how light interacts with the scene. Backlighting can emphasize depth, while frontlighting can highlight textures.
- Seasonal Changes: The Rule of 3 works exceptionally well in seasonal landscapes, such as autumn forests or spring meadows, where color and contrast vary dramatically.
- Vertical Compositions: While traditionally applied horizontally, the Rule of 3 can also be adapted for vertical shots, focusing on the vertical thirds of the frame.
By mastering the Rule of 3, photographers can create more compelling and aesthetically pleasing landscape photographs that capture the viewer’s attention and convey a sense of balance and rhythm.
Who is the Best Seascape Painter?
The title of the best seascape painter can be subjective, as it depends on personal preference and artistic style. However, several artists stand out for their exceptional ability to capture the beauty and essence of the sea through their work.
1. Claude Monet
Claude Monet is widely regarded as one of the greatest seascape painters. Known for his Impressionist techniques, Monet’s works, such as Water Lilies, are celebrated for their delicate brushwork and ability to depict the changing light and reflections on water. His paintings often evoke a serene and peaceful atmosphere, making him a standout figure in the world of maritime art.
2. J.M.W. Turner
J.M.W. Turner, often referred to as the “Painter of Light,” is renowned for his unique approach to seascapes. His works are characterized by dramatic lighting effects and an ability to convey mood and emotion. Paintings like The Fighting Tempestshowcase his mastery of stormy seas and atmospheric perspective, making him a legendary figure in art history.
3. Ansel Adams
While primarily known as a photographer, Ansel Adams has had a significant influence on seascape art. His large-format photographs, such as those in his series Portfolio of the National Parks, capture the grandeur and detail of natural landscapes, including the ocean. His work has inspired countless artists and remains a benchmark for seascape photography.
4. Eugène Delacroix
Eugène Delacroix is celebrated for his vibrant and dynamic seascapes. His painting The Waveis particularly notable for its bold use of color and dramatic composition, reflecting the power and beauty of the ocean. Delacroix’s work bridges the gap between historical and marine themes, making him a versatile and respected artist.
5. Robert Wyland
Robert Wyland is a contemporary artist known for his hyper-realistic seascapes. His works often focus on the interplay of light on water, creating intricate patterns and reflections. Wyland’s attention to detail and ability to capture the essence of the ocean make him a favorite among art enthusiasts and collectors.
Conclusion
There is no single “best” seascape painter, as artistic preferences vary. Each of these artists brings something unique to their work, contributing to the rich tapestry of maritime art. Whether you prefer the serene tranquility of Monet, the dramatic storms of Turner, or the photorealistic precision of Wyland, there is something to admire in their contributions to the world of seascapes.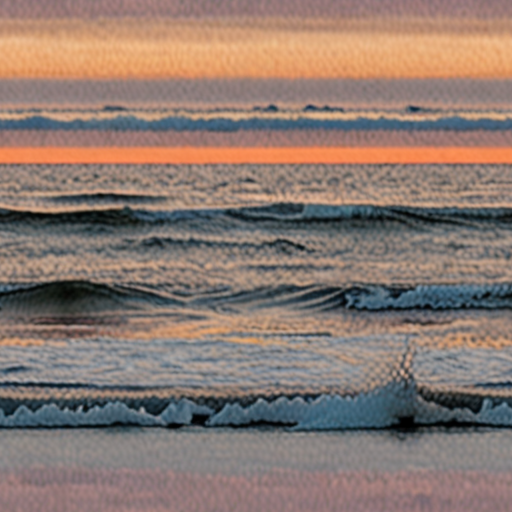
Camera Settings for Seascape Photography
For optimal results in capturing stunning seascapes, consider the following settings and techniques:1. **ISO**: Keep ISO low to minimize noise, typically between 100-400 ISO, depending on lighting conditions.2. **White Balance**: Use ‘Daylight’ setting for natural color reproduction, adjusting for the specific light conditions.3. **Exposure**: Monitor using the histogram to prevent overexposure. Consider underexposing by -1 to -2 EV to enhance wave details and textures.4. **Focal Length**: Experiment with both wide-angle and telephoto lenses to capture different perspectives of the scene.5. **Aperture**: Use a small aperture (f/8 to f/11) for increased depth of field, ensuring sharp focus on waves and distant objects.6. **Polarizing Filter**: Attach a polarizing filter to reduce glare and enhance water texture, ensuring proper attachment and usage.7. **RAW Format**: Shoot in RAW for greater post-processing control over colors and tones.8. **Composition**: Utilize leading lines like the horizon and apply the Rule of Thirds to frame subjects effectively.9. **Tripod**: Use a tripod for stability, especially in rough conditions, to maintain sharpness.10. **Timing**: Check the weather forecast and plan around favorable conditions, considering tidal changes to complement your shot.11. **Filters**: Employ ND filters to balance foreground and background exposure, experimenting with graduated ND filters for specific lighting effects.12. **Post-Processing**: Edit with software like Adobe Lightroom or Photoshop to adjust colors and exposure, ensuring regular backups and organization of your work.By thoughtfully applying these settings and techniques, you can capture the dynamic beauty of seascapes, evoking the essence of the ocean in each frame.
Best Focal Length for Seascapes
The best focal length for seascapes depends on the type of scene you’re capturing and the artistic vision you’re aiming for. Here’s a breakdown of the optimal choices:
- Wide-Angle Lenses (16mm to 24mm): These are excellent for capturing vast landscapes, showing the curvature of the horizon, and incorporating foreground elements like waves and rocks. They also perform well in low-light conditions.
- Standard Lenses (28mm to 50mm): Great for medium-wide compositions, these lenses allow you to get closer to your subject while still capturing a good portion of the scene. They’re versatile and work well for a variety of seascapes.
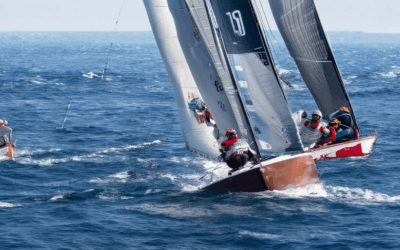
- Telephoto Lenses (70mm to 200mm+): Telephotos are ideal for isolating subjects like surfers, boats, or birds. They compress the scene, creating a dramatic effect and allowing you to focus on specific elements within the frame.
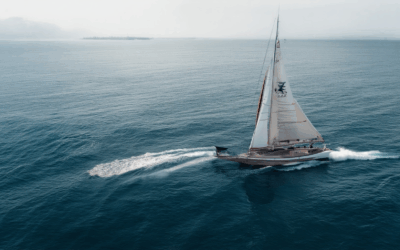
For many photographers, an ultra-wide lens like the Sailing Photo Awards recommended 16mm to 24mm range is often the go-to choice. These lenses allow you to capture the full expanse of the ocean while still including details in the foreground, such as breaking waves or rock formations.
When choosing your focal length, consider the following:
- Depth of Field: A narrower aperture (higher f-stop) will increase depth of field, allowing more of your scene to be in focus. This is particularly useful for seascapes with multiple elements in the foreground and background.
- Perspective: Experiment with different angles to find the most engaging composition. Low-angle shots can emphasize the grandeur of the ocean, while higher angles can highlight the texture and movement of the waves.
- Composition Techniques: Look for leading lines, such as receding waves or the horizon, to guide the viewer’s eye through your image. Symmetry and patterns in nature often make for striking seascapes.
Remember, the best focal length for seascapes is ultimately about personal preference and the story you want to tell. Experiment with different lenses and compositions to discover what works best for your unique style!
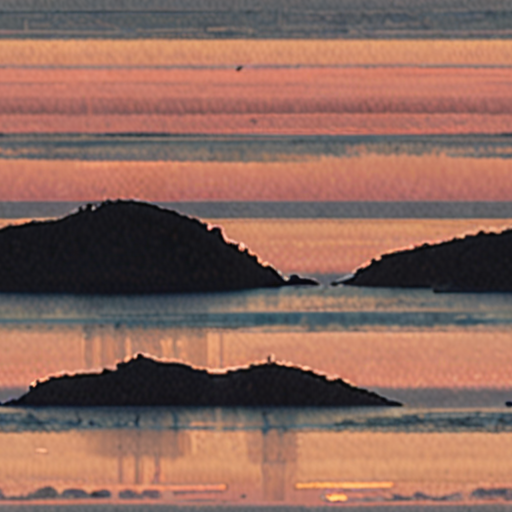
Best Camera Settings for Ocean Photography
To capture the beauty of the ocean, it’s essential to set your camera correctly for optimal results. Here are the recommended settings:
- ISO: Keep your ISO low (around 100-200) to avoid overexposing bright scenes. Increase it slightly for moving subjects or distant objects.
- Aperture: Use a large aperture (f/8 to f/18) to ensure sharp focus across the entire frame, especially for foreground elements like waves or sand.
- Shutter Speed: Choose a fast shutter speed (1/250 sec or higher) to freeze motion in dynamic ocean scenes. Slower speeds work well for calm, static shots.
- White Balance: Select “Beach” or “Daylight” mode for accurate color reproduction. Manual adjustment may be necessary for unique lighting conditions.
- Filters: Use a polarizing filter to reduce glare and enhance colors. A neutral density (ND) filter helps control harsh daylight.
Composition Tips
- Experiment with leading lines, rule of thirds, and framing to create visually appealing compositions.
- Consider shooting from ground level, chest height, or a low angle to emphasize the scale of the ocean.
Conclusion
Remember to review your photos and adjust settings based on the specific conditions of the scene. With the right setup, you can capture the stunning beauty of the ocean in every shot.
0 Comments