Exploring the vast and captivating world of nautical photography requires a blend of creativity, technical expertise, and a deep appreciation for the beauty of the sea. Whether you’re a seasoned photographer or just dipping your toes into the realm of coastal captures, mastering the nuances of nautical photography techniques can elevate your work to new heights. From the fundamental principles of composition and color theory to the intricacies of camera settings and lighting, this guide delves into the essential strategies that every nautical photographer should know. Discover how to harness the power of the 3:1 rule, experiment with shutter speeds for dynamic ocean waves, and unlock the secrets of underwater photography. Additionally, delve into the unique charm of analog photography tutorials and learn how to craft stunning nautical photography portraits that truly capture the essence of the open sea. With expert tips and insights, this comprehensive guide will empower you to embrace the art of nautical photography and create memories that last a lifetime.
Key Takeaways
– Optimal Shutter Speeds for Ocean Waves: Use 1/1000s for freezing wave motion, 1/500s for softer waves, and experiment with 1/250s or 1/320s for capturing vibrant textures.
– Underwater Photography F-Stop Guide: Choose f/8 for standard housings and f/11 or higher for dome ports to maintain sharpness. Use manual focus and external lighting for best results.
– Surf Photography Lens Recommendations: A 300mm lens is ideal for close-ups and medium-sized waves. Extend your reach with a teleconverter for larger waves, and consider a wider lens for broader compositions.
What are the 7 Cs of photography?
-
Composition
Composition is the foundation of great photography. Focus on elements like simplicity, rule of thirds, and balance. Avoid clutter and unwanted mergers. Experiment with leading lines and triangles to guide the viewer’s eye.
-
Contrast
Contrast creates visual interest. Use high-contrast elements for drama, while mid-contrast tones offer subtlety. Manage highlight and shadow details to enhance textures and shapes.
-
Clarity
Clarity ensures your subject stands out. Shoot in favorable light and use shallow depth-of-field for isolation. Edit to remove distractions and boost sharpness selectively.
-
Candid Moments
Candid shots capture genuine emotions. Look for spontaneous moments and available light. Respect privacy and be prepared to adapt quickly.
-
Cropping
Cropping focuses the viewer’s attention. Choose a strong foreground, midground, and background. Leave room for context while emphasizing your main subject.
-
Color
Color adds emotion and mood. Pay attention to complementary colors and monochromatic palettes. Adjust white balance and edit hues to enhance your vision.
-
Cutline/Caption
A strong cutline or caption complements your image. Craft concise, descriptive text that provides context and insight without overshadowing the visuals.
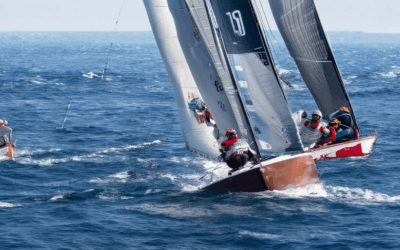
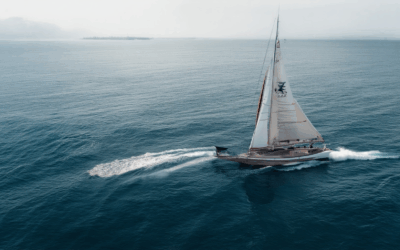
Boat Photography Camera Settings
For optimal boat photography, consider the following settings and techniques:
- Shutter Speed : Set your shutter speed to at least 1/1000 seconds. Faster speeds (e.g., 1/2000) are recommended for rough waters or rapid movements to maintain sharpness.
- Aperture : Use a large aperture (e.g., f/8 or higher) to control depth of field and isolate your subject, especially when capturing action shots or dramatic boat scenes.
- ISO : Keep your ISO low to avoid noise. Set it to auto with a maximum of 12800 to adapt to varying light conditions without excessive grain.
- Tripod or Monopod : Use a sturdy tripod or monopod for stability, especially on smaller boats. If not available, hold the camera steady with both hands.
- Composition : Utilize leading lines such as the boat’s bow or horizon to guide the viewer’s eye. Incorporate foreground elements like ropes or masts for added interest.
- Timing : Capture shots during golden hour for soft, warm lighting. Experiment with angles to highlight the boat’s motion and surroundings.
- Post-Processing : Adjust white balance to match changing light conditions and remove reflections. Consider cropping photos to emphasize your subject.
- Boat Type Consideration : Tailor shots to the boat type—sailboats may benefit from focusing on rigging and sails, while powerboats could feature wakes or engines.
- Battery Management : Carry extra batteries or a portable charger for extended boat trips to avoid running out of power.
- Camera Presets : Utilize any preset modes for action or boat photography to streamline settings selection.
By combining these settings and techniques, you can effectively capture dynamic and engaging boat photography, regardless of the vessel or setting.
The 3:1 Rule in Photography
The 3:1 rule, often referred to as the rule of thirds, is a fundamental composition guideline in photography. It suggests that the subject of a photograph should occupy one-third of the frame, with the remaining two-thirds left open. This creates a balanced and visually appealing composition.
Here’s how to apply the 3:1 rule effectively:
- Position Your Subject : Place your subject in one of the three equal horizontal sections of the frame. This can be the top third, middle third, or bottom third. Many photographers prefer the subject in the lower third for a more dynamic composition.
- Leave Space for Movement : By leaving two-thirds of the frame empty, you allow for movement and create a sense of leading lines that guide the viewer’s eye through the image.
- Break the Rule When Necessary : While the 3:1 rule is a helpful guideline, it’s important to break it when the composition demands it. Asymmetrical layouts or dynamic scenes may require the subject to be placed differently.
Example Scenarios:
- In portrait photography, position the subject in the lower third of the frame to give space for facial expression and gestures.
- In landscape photography, place the horizon or foreground element in the lower third to emphasize depth and interest.
By mastering the 3:1 rule and knowing when to bend the rules, you can create more engaging and visually appealing photographs.
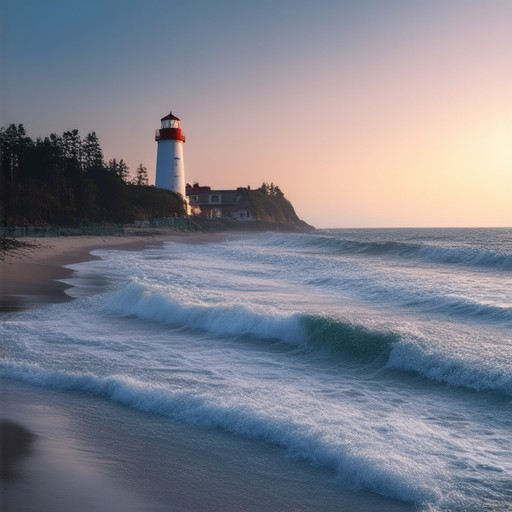
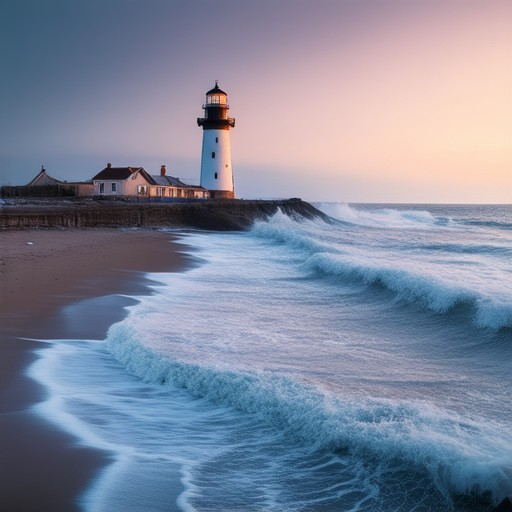
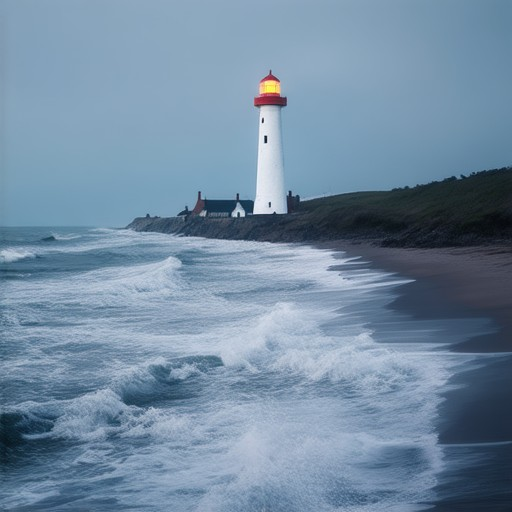
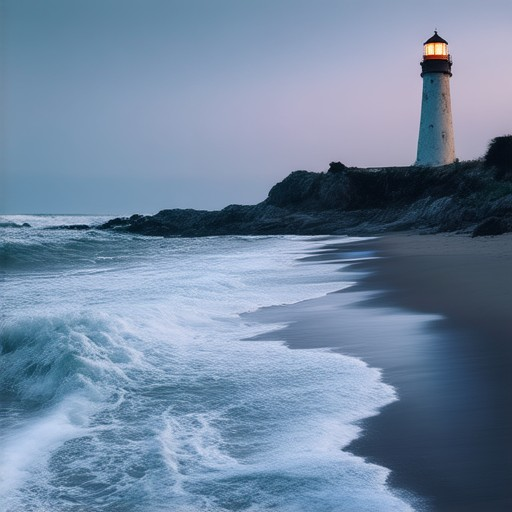
What Shutter Speed Is Needed for Ocean Waves?
To effectively photograph ocean waves, understanding the optimal shutter speed is essential. The ideal speed depends on the desired outcome:
- Freezing Wave Motion : Use a shutter speed of 1/1000 seconds or faster . This captures the precise moment the wave crest meets the shore, ideal for showcasing the power and energy of the ocean.
- Softening Wave Movement : For a smoother, more serene appearance, try a slower speed of 1/500 seconds or less . This allows the waves to appear gentler and less dynamic.
- Capturing Wave Color and Texture : Experiment with intermediate speeds like 1/250 or 1/320 seconds to freeze details in the wave crests while still allowing some movement to enhance texture.
Consider the environment and lighting:- Calm Conditions : Slower speeds can emphasize tranquility.- Rough Conditions : Faster speeds are necessary to preserve detail during wave crashes.- Golden Hour Lighting : Adjust your shutter speed to enhance color vibrancy and dramatic effects.
Additionally, factors like camera sensor size, ISO settings, and subject movement (panning or tracking) can influence your choice. Testing different speeds in various scenarios will help you find the perfect balance for your vision.
The Best F-Stop for Underwater Photography
For underwater photography, selecting the optimal f-stop is crucial to achieving sharp images and proper exposure. Here’s a structured guide based on current best practices:
- Understanding F-Stop and Depth of Field :
- A lower f-stop (e.g., f/1.2) allows more light into the camera but may lead to shallow depth of field, causing focus issues, especially with dome ports.
- A higher f-stop (e.g., f/8 or higher) reduces the aperture size, increasing depth of field, and enhancing edge-to-edge sharpness.
- Recommended F-Stops Based on Housing Types :
- Standard Housings : Use an f-stop of at least f/8 to ensure sharpness and sufficient light transmission.
- Dome Ports : To maintain sharpness across the entire frame, opt for an f-stop of f/11 or higher. This prevents edge blur, which is common with dome ports.
- Lighting Considerations :
- Utilize external strobes or ring lights to compensate for limited natural light underwater.
- Proper lighting setup is essential for avoiding underexposure or overexposure.
- Manual Focus :
- Always focus manually to ensure critical focus, as autofocus reliability can vary underwater.
- Experimentation :
- Test different f-stops with your equipment to find the sweet spot that balances sharpness and exposure in your specific conditions.
By adhering to these guidelines, you can optimize your underwater photography results, capturing crisp and well-exposed images despite the challenging environment.
Is 300mm Enough for Surf Photography?
Surf photography often requires capturing dynamic and fast-moving ocean scenes, making the choice of lens critical. A 300mm lens is typically sufficient for surf photography, allowing you to frame waves and surfers effectively. However, the ideal setup depends on factors like the distance between you and the subject and the style of photography you prefer.
- Close Proximity: If you’re near the surfer or the breaking wave, a 300mm lens provides ample reach to capture the scene without distortion. This makes it ideal for detailed shots of wave crests and surfers.
- Larger Waves: For bigger waves or broader shots that include the horizon, a 300mm lens may still work well, though you might find yourself panning quickly to capture the action.
- Teleconverter Use: Combining a 300mm lens with a teleconverter can increase its effective focal length, allowing you to get even closer to distant subjects, which is particularly useful for larger waves.
- Wide-Angle Considerations: If you prefer wider angles to capture more of the environment, a shorter lens might be better. However, many surf photographers find that a 300mm lens offers a good balance between width and detail.
Ultimately, the suitability of a 300mm lens depends on your specific needs and the unique characteristics of the waves you’re photographing. Experiment with different distances and compositions to find what works best for your style.

0 Comments